Happy New Year Everyone!
I’ve learned so much about myself, what I want and who I want in my life, how to better myself as a woman and as a makeup artist. In order to move forward, you have to look back; I think that’s how the saying goes.
Any who, I literally took a look back in my past and wanted to share my triumphs and downfalls as an artist. I did not know any photographers, so a lot of you don't know this but I did my own photography for the first few years of my makeup testing. Years later, I look back and see how much I have grown, I see how many people believed in my dream and I appreciate them so much. So here are my lessons learned as well as my thank you’s to the people that came in my life. Starting in 2006, I was 21 and I was finally able to find people that wanted to work with me. Here is my journey:
Dolores | 2006

My very first photo shoot was in May 2006. I was getting ready for finals week in my photography 101 class. Upon completion of my Associate’s Degree in Fine Arts, the clock was ticking to finish my degree with honors but I was so excited. I chose to do a fashion story with two of my classmates: Dolores & Victoria.
Dolores was a quiet girl in my math class but she was also the smartest. She was SO COOL to me, so I asked her if she’d like to be part of my final project and she was down. I went to a thrift store, found a polka dot dress and sequin belt, bought the hat from Family Dollar, bought the lace gloves, pearl jewelry & sunglasses from Ragstock and borrowed the Nikon camera with Kodak film from my school’s studio. Next day, we met up at the Cultural Museum. Dolores got ready in the bathroom and I came in later to adjust her hat and fix her wardrobe. She had two lipsticks, I chose the lipstick for her and asked her to grab her powder compact and we were ready. We started walking around the museum until I found this spot.

The sun was perfect, the location was perfect, it all just hit me; so I started to shoot her. All of a sudden she turned into a model. She was giving so many angles; she was just fun to watch. 36 frames later, we were done and I had to head back to the dark room to print my newest developments.


After looking at Dolores’ frames, I felt like something was missing. I asked my friend, Victoria, if I could shoot her for my final project as well. She was quite eager and ready to do it. Same as before, I bought a vintage outfit and she brought a few items. I bought a red lipstick for Victoria and it matched her perfectly. Another 36 frames later, we were done, and I rushed back into the dark room.
Victoria | 2006

My teacher was impressed, not by my photography, but that I was able to tell a story frame to frame, that I was passionate enough to think of the small details of the project, that I took on the role of a wardrobe stylist, considered makeup for them, added props in the shots and was capturing it all. He understood me and respected what I was trying to do. I earned an A+.
After this project, I learned that:
- Fashion is my calling.
- When you dress a woman up, she’s able to escape into the woman that she wants to be.
Dolores & Victoria were hiding behind sunglasses, hiding behind wardrobe, yet they were also showing who they truly were at the same time. In person, both girls were shy, but after wardrobe and makeup changes, their attitudes changed like night and day. They embodied superstar personas just by playing dress up. I wanted to venture into more fashion, find more friends willing to work with me, find more models. I was hungry for more.
Thank you Dolores & Thank you Victoria
Aariss | 2007

Aariss was a friend from high school and we kept in touch for a few years. In 2007, she mentioned she was working on her first recording album and needed pictures. I figured it was an opportunity for me to practice my makeup. We went to Loyola beach, I did her makeup, and we had a good time.
From Aariss, I learned that:
- Models should not stare into the sunlight. They will squint.
- I needed to learn how to blend eye shadow better for hooded eye shapes.
- Don’t put glitter on tattoos :-)
Thank you Aariss
Erica | 2007

Erica was so cool and so funny. She had honey blonde hair when I first met her. She had a loud laugh, she was a little rough around the edges, but she had a natural beauty. I asked her right away if she could be my model and she said, “Hell yea!” I felt like this was the opportunity for me to show her a classy version of herself. It was funny seeing how her demeanor changed when we toned it down and made her a lady.
From Erica, I learned:
-False lashes are a girls’ best friend.
-I needed to invest in better lipliners & lipstcks: The lipliner I used was from the dolllar store, the lipstick was probably from Walgreens, and it shows. It wasn’t as pigmented as I hoped it would be.
-Gold is stunning as a highlight on deep skintones.
Thank you Erica.
Susie | 2007

Susie, from what I can remember, is Korean & German….. But don’t quote me; I think that was what she told me. I couldn’t believe she lived in Chicago, I felt like she belonged in LA. So I bugged her to be my model, she agreed and I met her at her house.
I had a very small, baby kit at the time. I was working with L’Oreal True Match foundations, a few MAC eye shadows and Yves Saint Laurent skin care. I will never forget this: Her boyfriend looked at all my products and said, “What’s all this?” Susie cut him off and said, “Andrea is a professional makeup artist!” She was so SERIOUS and it cracked me up!! I was so thankful that even though I didn’t have much of anything, she respected me that much and called me a professional makeup artist. From that moment on, I believed in myself that I AM a professional and I always carried myself as such.
Susie was the ‘pretty girl’ at work, so I wanted to transform her into the gangsta’ girl. As soon as she saw herself in the mirror, she said, “This is everything I never imagined to be.” She grabbed her boyfriends cap, I gave her a pair of the biggest, most fake gold earrings I could find and braided her hair.
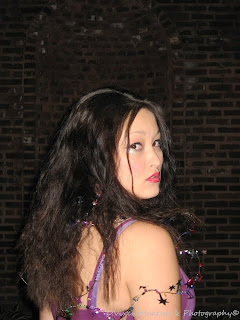
Then I wanted to try a soft look on her. I played with powder, blush, glitter, and lipstick for her. I think this is still her Myspace picture.
From Susie, I learned:
- The art of Symmetry is a makeup artist’s best friend. After reviewing my work on camera, I noticed her eye shadow was not even. From this day on I became a perfectionist with blending my eye shadows.
- I needed to learn how to work on thin eyebrows better.
- If the false lashes are too big on the model’s eyes, cut them, don't force them to fit
- It’s easier and faster to go from soft makeup to dramatic makeup. I learned that I needed to start planning things out better in order to manage my time better
The funny thing is, her boyfriend became a special fx makeup artist after meeting me. :-)
Thank you Susie & Brandon
Sherose | 2007

Sherose was my muse for a lot of my projects, but this was the very first one we did together. I was in love with her skin, her hair, her attitude, her eyes, she was, and still is, so beautiful! So I asked if she could be my model and she said yes.
Sherose kept it simple and only wore black pencil eye liner every day at work, so I wanted to transform her into a Rock Star. She told me her favorite color was green, so I chose to do a green Smokey eye for her. The zebra print background was actually her kitchen table cloth and we LOVED it. I styled her hair in a faux Mohawk and she worked it.
From Sherose, I learned:
- I needed to find a primer for eye shadows. It was my first time applying heavy eye shadow on someone else and it creased within a few minutes
- Dark eye shadow + nude lips = works for every skin tone
- I needed to invest in better concealers and learn how to blend them better. The concealer I used was ok, it had a thick consistency, but I needed to learn how to blend smoother so it had a seamless effect on the skin
- Everyone does not need foundation: Sherose has amazing skin. I learned that you can skip a few steps and use less products if the model has great skin
- Lashes on the bottom create major drama for the eyes, which I loved
Thank you Sherose
Ashley | 2007

Ashley was, and still is, one of my best friends. She LOVED dressing up, she loved the drama, loved lashes, loved it all, so she was perfect for being my muse and I was able to pretty much create anything on her face. She invited me over to her house and we spent the whole day taking pictures all around Chicago. Ashley fixed up her hair and found the cutest blue polka dot bow, I brought my polka dot blouse (which I still have) and she brought the jewelry to make her a vintage pin-up girl. It was fun!!
From Ashley, I learned:
- I needed to find photographers: It was hot that day. I enjoy the process of doing makeup and the process of a photo shoot, but it was hard stopping to fix her lipstick, shoot, stopping to fix her hair, shoot, stopping to fix her lashes, and shoot. It was time consuming taking on both jobs. I decided I wanted to do makeup only.
- Alter the makeup under different lighting: We started off taking pictures outside and the makeup was perfect for the sun, but when we started taking pictures inside, it was a different story. I saw my mistakes under the flash of my camera, I saw where the powder started and stopped, I learned that I need to double check the makeup when the lighting has changed.
Thank you Ashley
Lauren | 2007

Lauren is my cousin and we are six years apart. She was never into makeup, never liked being girly, always was a tomboy. So I wanted to take on the challenge of working with someone that didn’t like makeup. We met up in Chinatown and took pictures in almost every store, every street, everywhere!
From Lauren, I learned:
- I needed to find models that take direction well: Lauren looked everywhere but the camera while I was taking her pictures.
- Products lie: I used a product that specifically said it would not crease on eyes, but looky-looky here. ^ I saw the proof that products lie and I always need a backup primer, backup eye shadow, backup products to fix what other products failed to do.
- I shouldn’t be afraid to alter features: Lauren plucked her eyebrows really thin. I knew I needed to fill them, but I didn’t fill them as much as I should have. From that day on, I threw out my fear and I knew that in order to really transform someone, I must be confident and fearless to be able to complete the transformation properly.
Thank you Lauren
Alison | 2007

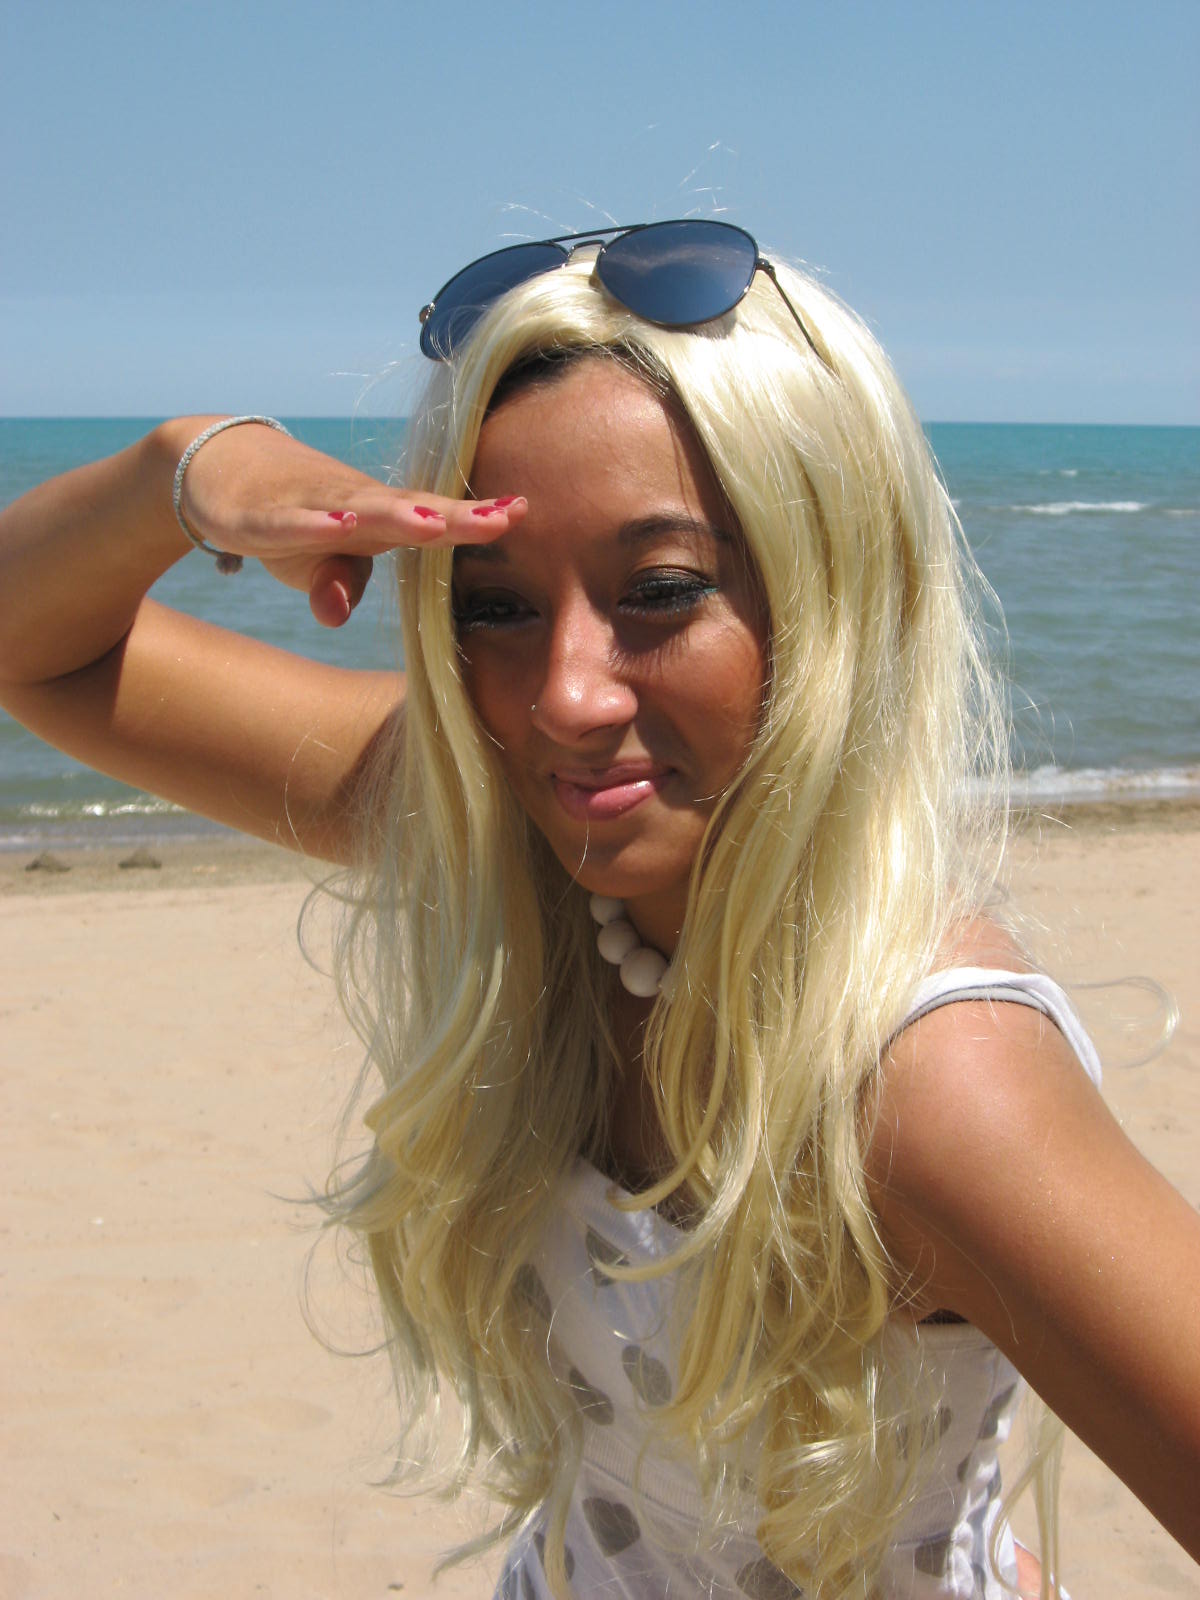
Alison was another really cool girl that I worked with. She had a laid back attitude, she always had the coolest prescription glasses and her hair was amazing! So as usual, I asked her if she could be my model. She was laughing about it but she said, ‘Ok!’
I told her my idea, I wanted to turn her into a ‘California Beach Babe’ and she was cracking up. I put the wig on her and yes she looked ridiculous but I wanted to be confident that I could really transform her. We were laughing SO hard! So while doing makeup at the beach, right away I learned lessons that forever changed my life.
- Never do makeup outside. Ever: I will never forget, the weather was so beautiful but the wind was terrible that day. I had the hardest time applying lashes on the top, so I put them on the bottom. The eye shadow was not the way I planned it. The wind took control.
- Find Hairstylists & learn about hair: If I had the right team at the right time, this actually could have worked.
- Ask the model if they have sensitive skin BEFORE applying anything: I cannot remember if it was the eye shadow, the lashes or the foundation, but she had a small reaction to something a few hours later and I was devastated. I was so mortified and so upset that I simply didn’t ask her first before I applied anything. From this day on, and you can ask any of my clients or models I have worked with, before applying anything I ALWAYS ask this first,
“Is there anything you are allergic to or sensitive to?”
Thank you Alison
Eric | 2008

Eric was the first guy I ever worked on. He was really into metal, rock music, wrestling, guy stuff; so for the photo shoot, I wanted to amplify the person he already was. He brought his own wardrobe and this was the first time I tried guy-liner.
From Eric, I learned to:
- Work Fast on Men: Men have much more sensitive eyes than women. He blinked, and blinked, and blinked a lot while I was applying it. So I learned I needed to work faster.
- Bring hair scissors: His mustache and sideburns were a little uneven, and I wished I brought a few things to groom him. The rugged mustache helped with the mood of the photo shoot, but overall, I make sure I bring a few things with me when grooming men.
Thank you Eric
After these photo shoots, I used these pictures for my portfolio and switched the photos when I started working with more photographers. This was not an overnight process; it took hours, days, weeks, and years of practice, patience and understanding of my craft. I now appreciate the mistakes I made, they turned into lifetime lessons for my career.
Fast forward to 6 years later, I’m still very critical of myself and very obsessive compulsive of how I do makeup. The lessons I learned in my baby days are still with me after every client, every day. I’m always learning and always fascinated with the psychological aspect behind a photo shoot: If you dress anyone up, and you believe that they are amazing and they believe that they are amazing, they take on a new persona. It’s a beautiful thing to watch, it’s so interesting. From now on, I won’t need to photograph my work for my portfolio, unless it's for personal use. I can finally focus on makeup 100%. :- )